In a previous post, I wrote about how to create an author website using the free and simplest-to-use version of WordPress, WordPress.com.
Here I’m going to show you how to create a self-hosted WordPress website to promote yourself and your book as an author. But first, why would you want to create a self-hosted WordPress website versus the easier-to-use WordPress.com?
WordPress.com is the best website-building tool to use if:
- You want to create a simple website where you can build your brand in a few hours without needing deep technical skills to do so.
- Having a wide selection of pre-made themes (layouts) is important because you don’t want to code your own using CSS and HTML
- You want a free website, with optional premium add-ons at an extremely low price (think $13 for a domain, $59 for a premium layout or $99 for a bundle of nice upgrades).
- Blogging and social media come easy to you, but beyond that you’re not interested in diving deeper into the technical aspects of Web design.
WordPress.org is a better tool to use to design your website if any of the following apply:
- You want the ability to add key functionalities (such as lead capture, a free ebook download or Google analytics) to your website through the use of plug-ins (most of which are not available for WordPress.com sites–the exception being ecommerce and Google analytics, which are available with the more expensive WordPress.com for Business package at $299/year).
- Your tech skills are moderate–you’re not a developer, but you’re webby, with enough digital skills to slog through a few technical tweaks to save a great deal of money you might otherwise pay a Web designer.
Note that it can be a pain to migrate your site and move your domain from one to the other, so it’s best to make a well-informed choice at the outset.
Step One: Purchase Your Domain Name
Go to any Web hosting site, or to a domain search site such as Nameboy.com, to check if your desired domain name is available. You can purchase your domain anywhere, but you may get it bundled if you buy it from the same place you buy hosting.
Step Two: Obtain a WordPress-ready Web Host
On the back end, WordPress runs differently than other websites or content management systems so it’s important to have compatible hosting. The easiest way to set up your self-hosted site is to choose a Web host that is compatible with WordPress, and also has a quick-install mechanism for it. Bluehost is the Web hosting platform recommended at WordPress.org, but there are others.
For a very simple author website and blog, you shouldn’t need a ton of storage or a corporate-caliber server. However, if you start loading your site up with plugins or have tons of traffic (a good problem to have!), you may need to upgrade to a higher-level hosting.
Step Three: Install WordPress on Your Site Through Your Web Host
Here are the instructions on how to install WordPress if you’re using Bluehost. In my experience, the process works similarly at other WordPress-ready hosts.
Step Four: Log in to Your WordPress Site
Your site, or a subdomain on it, is now running WordPress. So from now on, you’ll log in through WordPress.
Somewhere along the line your Web host will give you WordPress credentials, which will likely be different than the login you used to sign up for hosting and your domain.
Take these, go to the URL where you have installed WordPress (mywebsite.com or mywebsite.com/blog for example), add the suffix /wp-login.php or wp-admin.php to the URL, and use your credentials to log in.
Step Five: Choose and Download a Theme
Here’s where things get a little more advanced.
If you know some CSS and html and have some time, you may want to roll your own theme.
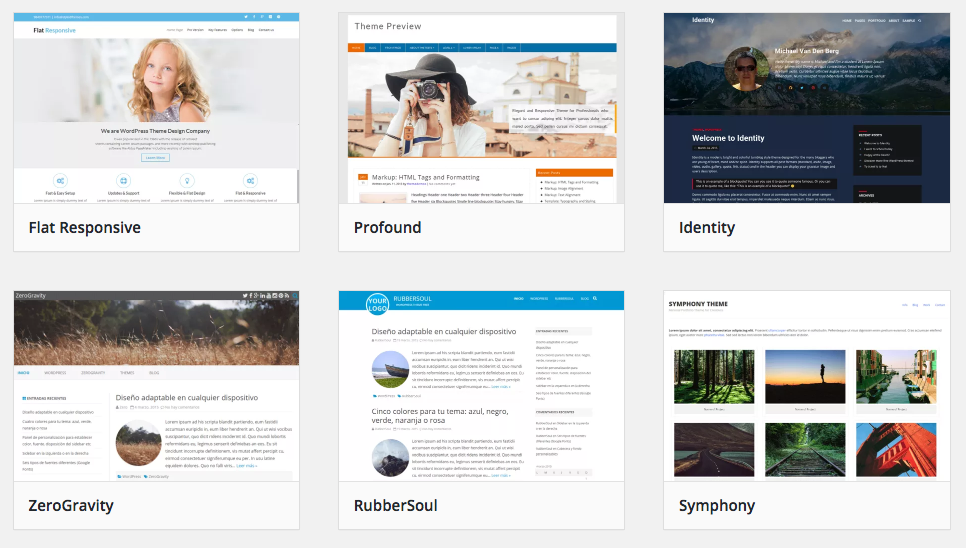
If that’s a little too much work for you, don’t worry. There are numerous free and paid themes you can find to use for your site. The WordPress.org theme directory is a great place to start looking. Use the feature filter to search by dominant colors, layout (three column, responsive, etc.), theme options (such as custom headers) or the type of content (photoblog or the like).
It’s important to note that in WordPress, themes control not only the look but also the functionality of your site. Make sure the theme you choose has the features you want. They will usually be listed with the theme.
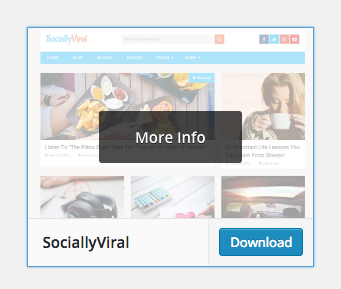
A search on the WordPress.org theme directory
Once you’ve found a theme you like, click Download.
Downloading a theme from WordPress.org
When you download, the file will download to your computer as a zip file.
Save it to your desktop, or somewhere you can easily find it.
Step Six: Upload and Install Your Theme
In your dashboard, go to Appearance / Themes. Click Add New.
Then, upload the theme files from your desktop. After uploading, don’t forget to click Activate on your new theme.
Once a theme is active, you can further adjust its styling by clicking Customize and editing its CSS.
Step Six: Set Up Pages, Posts and Widgets
Steps three, four and five from this post will be the same regardless of which version of WordPress you’re using, so I’m not going to rehash them here. Use these directions to set up your static pages (About, Contact and such), blog posts and sidebar widgets (archives, twitter feed, etc.)
Step Seven: Add, Activate and Configure Your Plug-ins
A strong word of warning from personal experience: Too many plug-ins can crash your site. Also, some plug-ins interfere with each other. If you don’t have a professional to test and maintain them, go easy on the plug-ins. Also, make sure to choose highly rated plug-ins with lots of ratings. They are the most likely to be stable.
Here are a few plug-ins I think are essential for authors looking to use their site to build their brand.
- An opt-in lead capture popup, where people can sign up to your email lists so you can know who they are and communicate with them
- A plug-in that allows you to give away free downloads of your book directly from your site. (I like DFOID.)
- Google analytics
- A mechanism that enables people to share your content from each post and page (AddToAny, Custom Share Buttons and WP Social Sharing are among popular options)
- Yoast, which will help you know how well you’re using SEO in your writing to ensure your post is discoverable through organic search
- Pixel trackers, such as Facebook Pixel Conversions, that will measure the effectiveness of your social advertising (if you do any)
Step Eight: Adjust Your Site Settings
On your WordPress dashboard, you can click on Settings and customize all aspects of your site, from your time zone to your home page to how much teaser text shows on your blog posts.
Step Nine: Run Ongoing Updates
Whenever security vulnerabilities are discovered, WordPress will come out with new updates. While these sometimes cause other irritating issues, it’s important to keep your site up to date to avoid being hacked. Take a backup first (you can do this manually in your Web host’s control panel, or install a plug-in that will let you do this in the CMS).
Step 10: Don’t Forget to Measure
You have a website, but don’t stop there. If you want to know how it’s performing (and I hope you do!), set up analytics tracking. To do this, create a Google Analytics account. Enter the tracking id number you will get in Google Analytics into your site’s dashboard. (This number will start with UA- and is found under Home / Dashboard / Property / Property Settings.
Also, don’t forget to find your “XML site map” in the WordPress dashboard. Submit that to Google Webmaster Tools to find out what Google thinks of your site.
Up Next in This Series: In a future post, we’ll take a look at how to make your book a website, on your own domain.
Elizabeth Mays is a self-published author as well as the marketing manager for Pressbooks.com. She has built and maintained WordPress websites–self-hosted and not–for herself and other organizations.